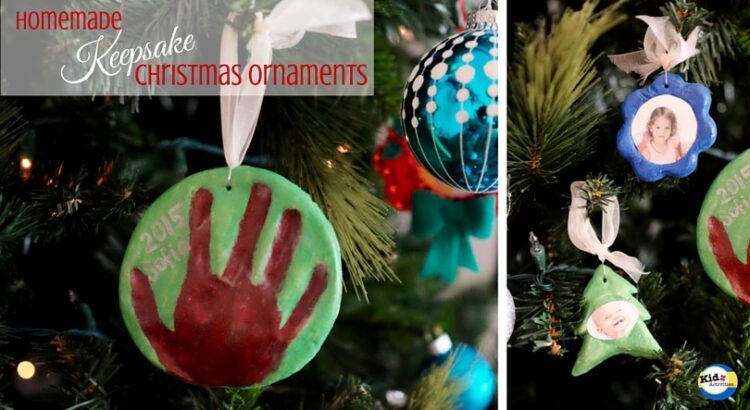
Are you looking for Christmas crafts for preschoolers? Perhaps something homemade? Or a precious keepsake to remind you of the days when they were little? If you’ve answered ‘yes’ to these questions, you’ll probably like these Homemade Keepsake Christmas Ornaments. It starts of as a wonderful sensory play activity. Then a painting activity to finish off the Christmas ornaments.
Homemade Keepsake Christmas Ornaments
What you need to make the dough:
- 4 cups flour
- 1 cup salt
- 1.5 to 2 cups warm water
What you need to finish off your Christmas Ornaments:
- Cookie cutters, a bowl or other items that will create the shape you’d like
- Paint and paintbrushes
- Mod Podge
- Photos
- Paper clip
- Ribbon
How to make your own Homemade Keepsake Christmas Ornaments:
- Make the dough by mixing the flour and salt. Add 1.5 cups of water. Mix the dough by hand. It will first appear crumbly before coming together into a dough. If you feel the mixture lacks water, mix in the remaining 1/2 cup water a little bit at a time, until you get the consistency of dough.
- Let your child play and create with the dough, just like they do with play dough. This part of the process is a lot of fun for kids.
- We also used an Ikea bowl to create a perfect circle.
- We used cookie cutters to create Christmas tree, heart and flower shapes.
- Add some details on the dough:
- On the circle shaped dough, let your child press her hand on it, so that an imprint of her hand is created on the dough.
- On the other shapes, we lightly pressed a smaller circle shape on it. This will act as a place to put photos in.
- Insert a tooth pick through the top part of the dough.
- After all the shapes have been made, bake the dough at 200 degrees Celsius for 1 hour or until the dough comes out rock hard.
- Then the fun part! Let the kids paint their homemade keepsake Christmas ornaments.
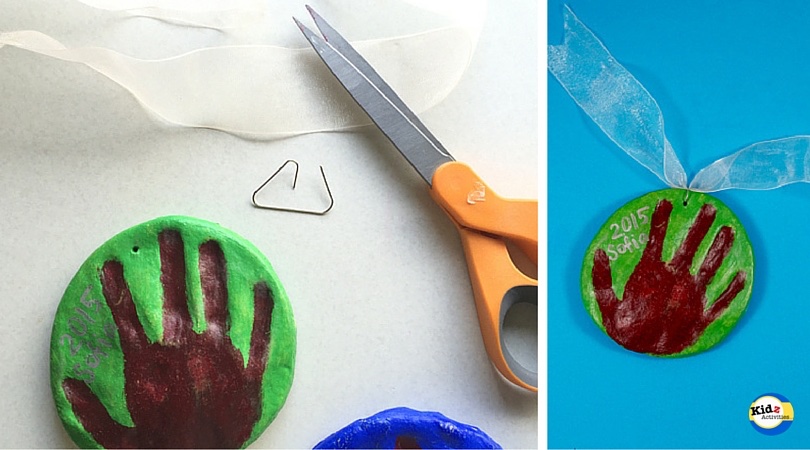
- An adult may need to finish off the handprint Christmas ornament by carefully painting the indented handprint in a different color.
- On the other Christmas ornaments, apply Mod Podge then stick the photos within the indented circle.
- Allow at least an hour to let everything dry. Then apply a coat of Mod Podge all over the homemade keepsake Christmas ornaments. This is meant to act as a sealant. The entire thing will initially be covered in white, then it will dry up clear.
- When the Mod Podge is dry, break a paper clip into 2 pieces. Create a metal ring using half a paper clip by inserting it into the hole on the dough (the hole you poked with a toothpick). Then close it into a circle. Thread ribbon into the paperclip ring. And you are ready to hang your homemade keepsake Christmas ornaments on the Christmas tree.
There may seem to be a lot of steps to create this Christmas craft for preschoolers. But through this craft, you engage your child in sensory dough play, painting and sticking. But more importantly, you create homemade keepsake Christmas ornaments that your family will treasure as the years go by.